
How to use Vial with your Waterfowl keyboard
17 Dec 2022One of the drawbacks of niche custom keyboards is the difficulty of editing your keymap when you want to make changes. Typically you’ll have to edit some code, recompile and flash the firmware every time you want to change a key’s function. Well now that’s not the case!
Vial is an open-source cross-platform GUI for configuring your keyboard in real time. (Think of it like Razer Synapse for custom keyboards). You only need to flash the keyboard firmware once and then you can customise your keymap on the fly! Here’s how you can use it with your Waterfowl keyboard.
Downloading Vial
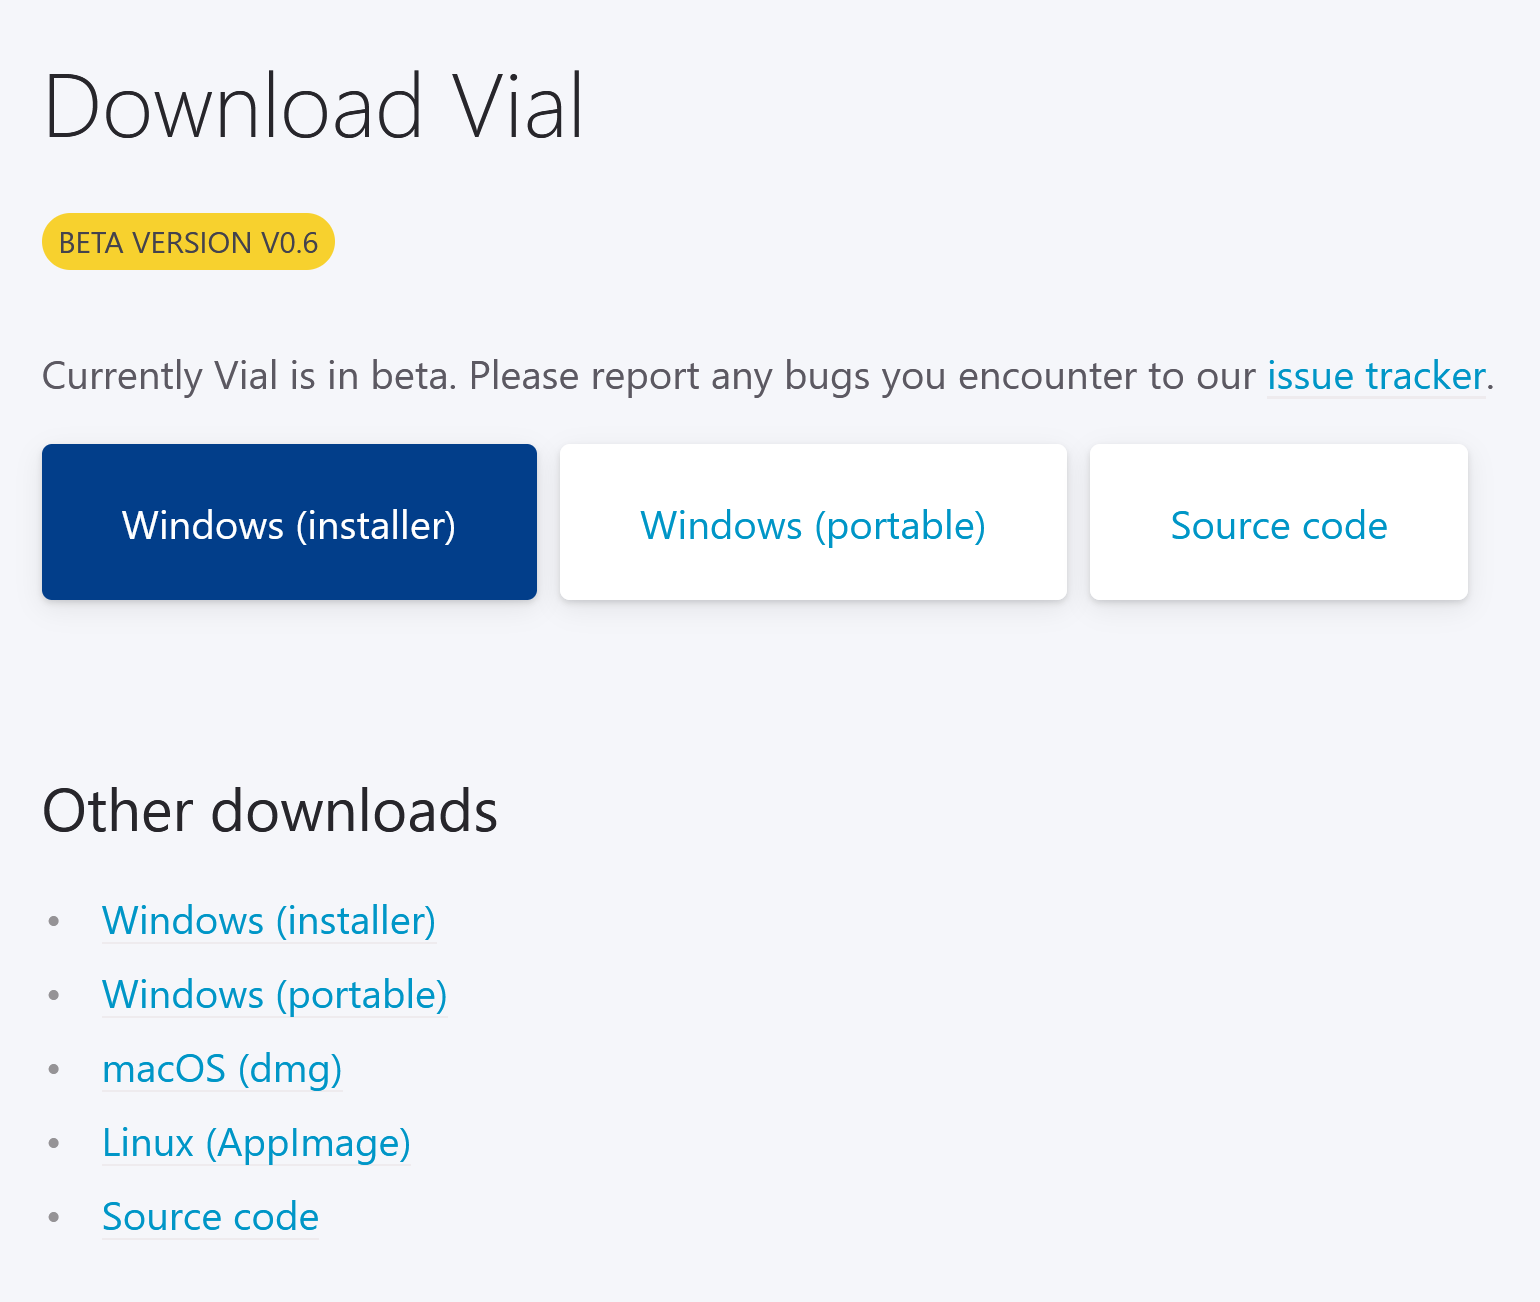
First, head over to the download page on the Vial website and download the latest build for your operating system.
Installing Vial
Follow the standard process for your operating system to install the Vial app. For Linux you can follow the steps found here on their website.
Download the firmware
In order for the Vial software to detect your keyboard you’ll need to flash it with the compatible firmware.
Download the Vial .hex firmware file for the Waterfowl under the Vial section of the Waterfowl firmware database.
Flash the firmware to your board
I have written a guide on how to flash QMK firmware to your Waterfowl, simply click here and follow the steps for your Vial firmware.
Now that you have the Vial firmware flashed to your keyboard, it’s ready to be used!
Using Vial
Connect the halves together with your TRS cable and plug the left half into your computer.
Run the Vial software with your keyboard connected and you should be met with the following screen.
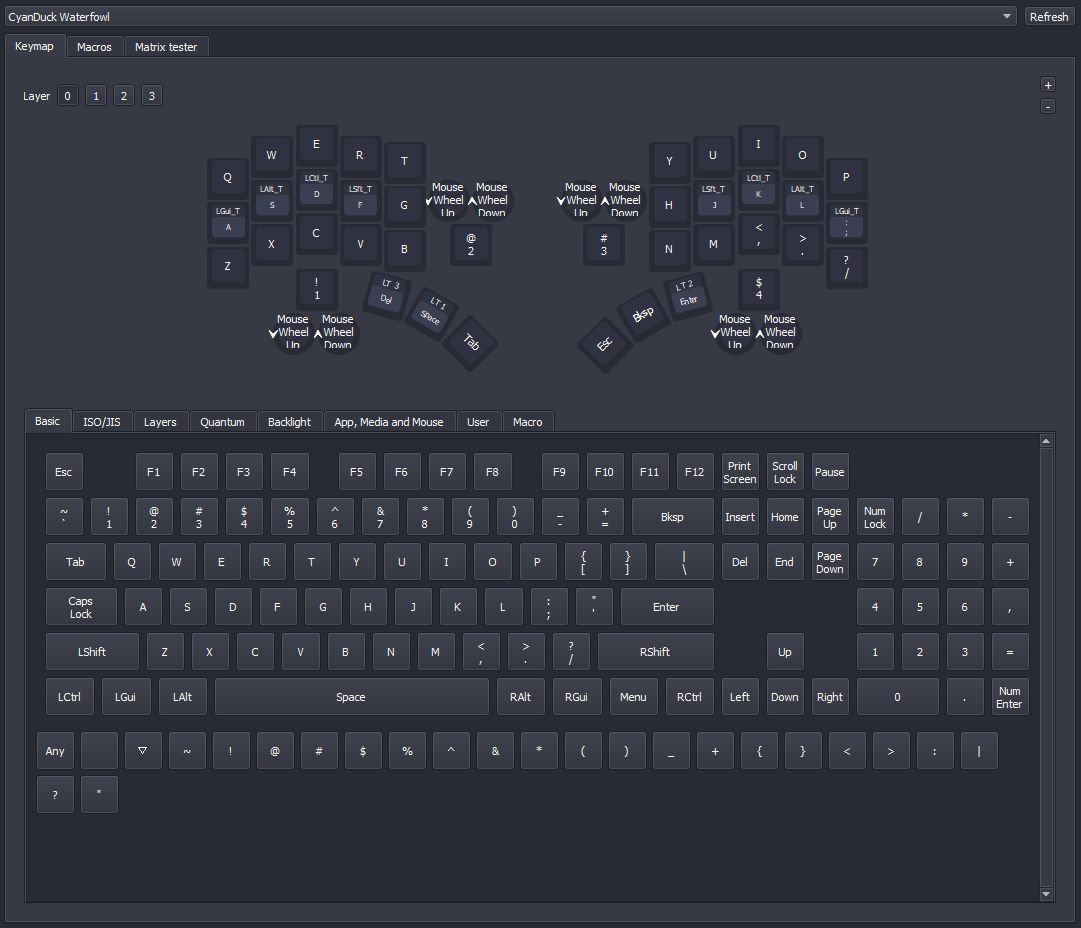 To edit the function of a key, simply select the key and choose the function you want. Your changes will be applied to the keyboard in real time.
For more information about the things you can do with your board check the manual on the Vial website.
To edit the function of a key, simply select the key and choose the function you want. Your changes will be applied to the keyboard in real time.
For more information about the things you can do with your board check the manual on the Vial website.